How to Installing NodeJS on Windows, MacOS X, and Linux
NodeJS has become popular among web developer both front-end and back-end. Installing Node and NPM is pretty straightforward using the installer package available from the Node.js® web site
There are different ways to install Node.js on Windows, MacOS X, and Linux. Here are some basic instructions for installing Node.js on Windows, MacOS X, and Linux.
Here is the step by step instructions with screenshots on How to installing NodeJS on Windows, MacOS X, and Linux. So, let’s get started with it.
Installing Node.js on Windows:
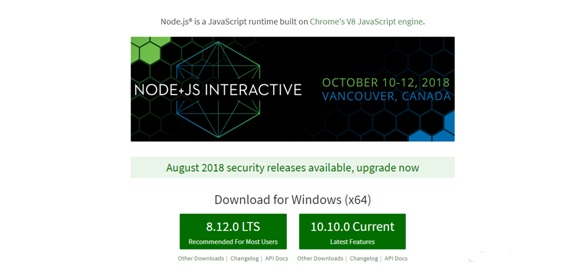
Step 1) First open downloads pages of Node.js. Now click on the installer you would like to download and install. https://nodejs.org/en/

Step 2)
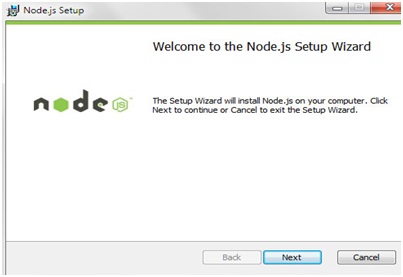
After download NodeJS, Run this Node.js setup file and Accept license agreement, after Click on Next button.
Step 3)
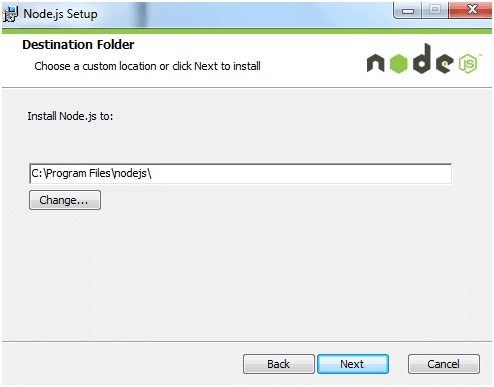
open the destination folder, setup the folder name. Here “C:\program Files\nodejs\” this is the default folder name or “C:\nodejs\” is the folder name, you can change the folder name. After click on Next button.
Step 4)
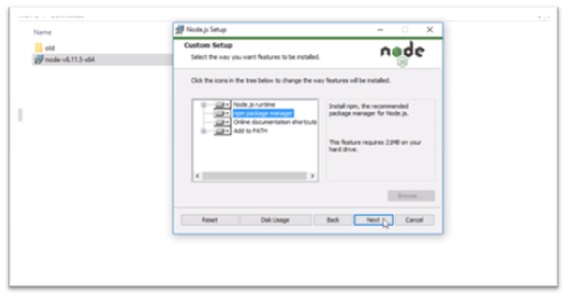
Click the NPM package manger or node.js runtime. Click on Next button
Step 5)
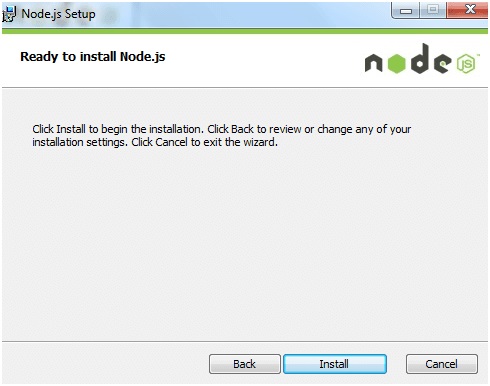
Now click on install button. Note: This step requires Administrator privileges. If prompted, authenticate as an Administrator
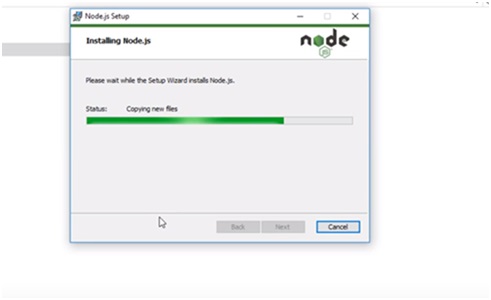
Step 6) installation in process
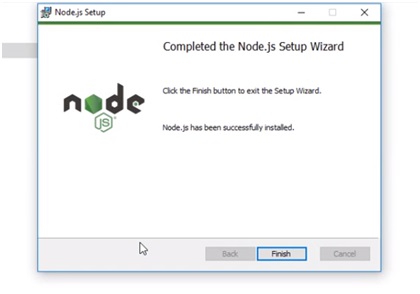
Step 7) Completed the Node.js Setup Wizard. Click on Finish button.
Step 8)
Verify that Node.js was Properly installed or not
Test Node: To see if Node is installed, open the Windows Command Prompt, PowerShell or a similar command line tool, and type-
$ node -v
See the node.js version number…something like
Test NPM: To see if NPM is installed, type
$ npm -v in Terminal
This should print NPM’s version number
Create a test file and run it. A simple way to test that node.js works is to create a JavaScript file: name it hello.js, and just add the code console.log (‘Node is installed!’); To run the code simply open your command line program, navigate to the folder where you save the file and type node hello.js. This will start Node and run the code in the hello.js file. You should see the output Node is installed.
Verify installation: Executing a File
Create a js file named main.js on your machine (Windows or Linux) having the following code.
/* Hello, World! program in node.js */
console.log (“Hello, World!”)
Now execute main.js file using Node.js interpreter to see the result:
$ node main.js
If everything is fine with your installation, this should produce the following result:
Output: Hello, World!
Step by step Installing Node.js on MAC OS X:
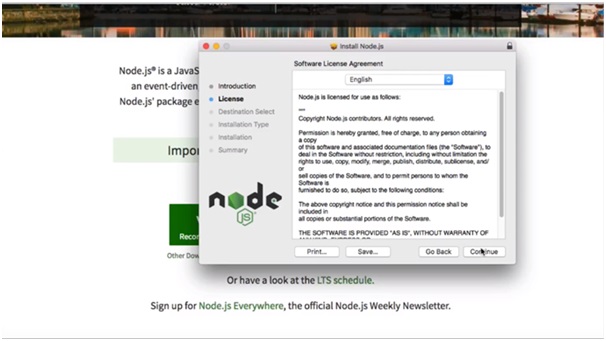
Step 1: After download the MacOS X fileàRun this file à Click on Continue button
(IntroductionàLicensesàDestination Select) ……. Click on continue
Step 2)
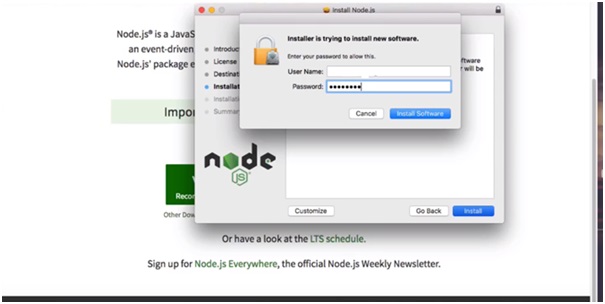
To enter your system Username and password. Next click on install button
Step 3)
Installing Node.js is finished. Now close the file and open the Node.js.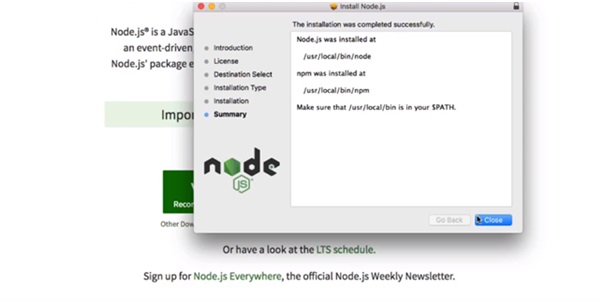
Installing Node.js on Linux:
How to install Node.js on Ubuntu Linux. If you are installing Node.js from source, then installation process will be similar in all Linux operating systems.
Nodejs is available in the default repositories of most Linux distributions. It might not be latest version, but stable. If you want to have a stable Node.js on your Linux, you better install it using your distribution’s package manager as shown below.
On Arch Linux and its derivatives like Antergos, Manjaro Linux, run the following command to install it:
$ sudo pacman -S nodejs npm
On Debian, Ubuntu, Linux Mint:
$ sudo apt-get install nodejs npm
RHEL, CentOS, you need to enable EPEL repository first.
$ sudo yum install epel-release
And, then install Nodejs using command:
$ sudo yum install nodejs npm
On Fedora:
$ sudo dnf install nodejs npm
Note: Since the packages from the default repositories are outdated, you will get the following error when you try to install any Node JS modules using npm.
/usr/bin/env: ‘node’: No such file or directory
To solve this error, you need to create symlink as shown below.
$ sudo ln -s /usr/bin/nodejs /usr/bin/node
If you are using Ubuntu Precise or Debian Wheezy, you might want to read about running Node.js >= 6.x on older distros.
curl -sL https://deb.nodesource.com/setup_8.x | sudo -E bash -sudo apt-get install -y nodejs
Alternatively, for Node.js 10:
curl -sL https://deb.nodesource.com/setup_10.x | sudo -E bash -sudo apt-get install -y nodejs
Optional: install build tools
To compile and install native addons from npm you may also need to install build tools:
sudo apt-get install -y build-essential
See more about: https://nodejs.org/en/download/package-manager/#debian-and-ubuntu-based-linux-distributions
Step 1) After downloading Linux Nodejs, Installing NodeJS and NPM
After adding PPA, now it’s time to Install Node and NPM.
Enter the Below command in Terminal and Press Enter.
$ sudo apt-get install nodejs
This will install all the dependent packages required to run Node in our system
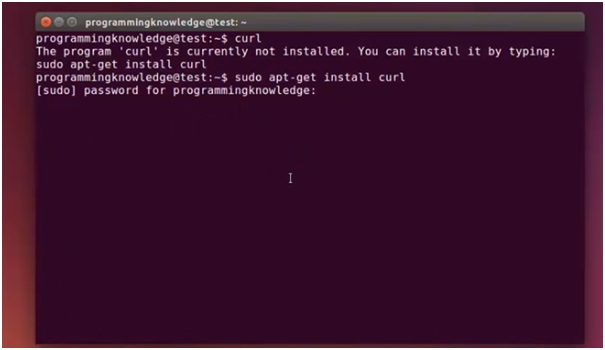
Step 2) Processing installation
Type: curl -sL https://deb.nodesource.com/setup_10.x | sudo -E bash –
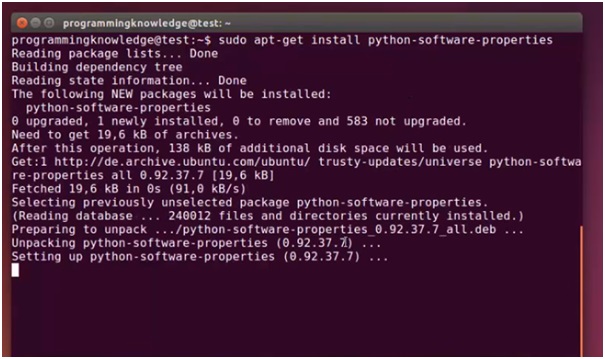
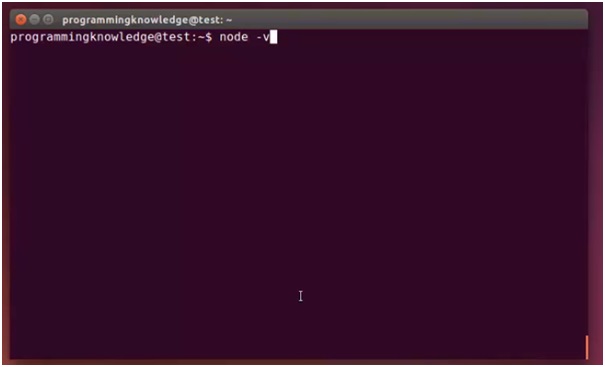
Step 3) After installing, Check Type: $ node-v
Install Nodejs from Node Source
To install the most recent version, install the latest version from NodeSource as shown below.
On Debian, Ubuntu distributions:
Add Nodejs 7.x repository:
$ curl -sL https://deb.nodesource.com/setup_7.x | sudo -E bash –
For Nodejs 8.x:
$ curl -sL https://deb.nodesource.com/setup_8.x | sudo -E bash –
Then, install Node.js using command:
$ sudo apt-get install nodejs npm
How to Uninstall Node and NPM
You uninstall Node.js and NPM the same as you would most Windows software:
Open the Windows Control Panel
Choose the “Programs and Features” option
Click the “Uninstall a program” option
Select Node.js and click the Uninstall link.
Hope this install instructions helped you to understand how to install Node.js and NPM on Windows, Mac OS X and Linux. If you have any questions regarding how to install Node.js and NPM on Windows, MacOS X, and Linux please write it in the comments section.
